Hallmark Movies & Mysteries Movie Premiere of “Time for Her to Come Home for Christmas” on Thursday, November 30th at 8pm/7c! #MiraclesofChristmas Read More
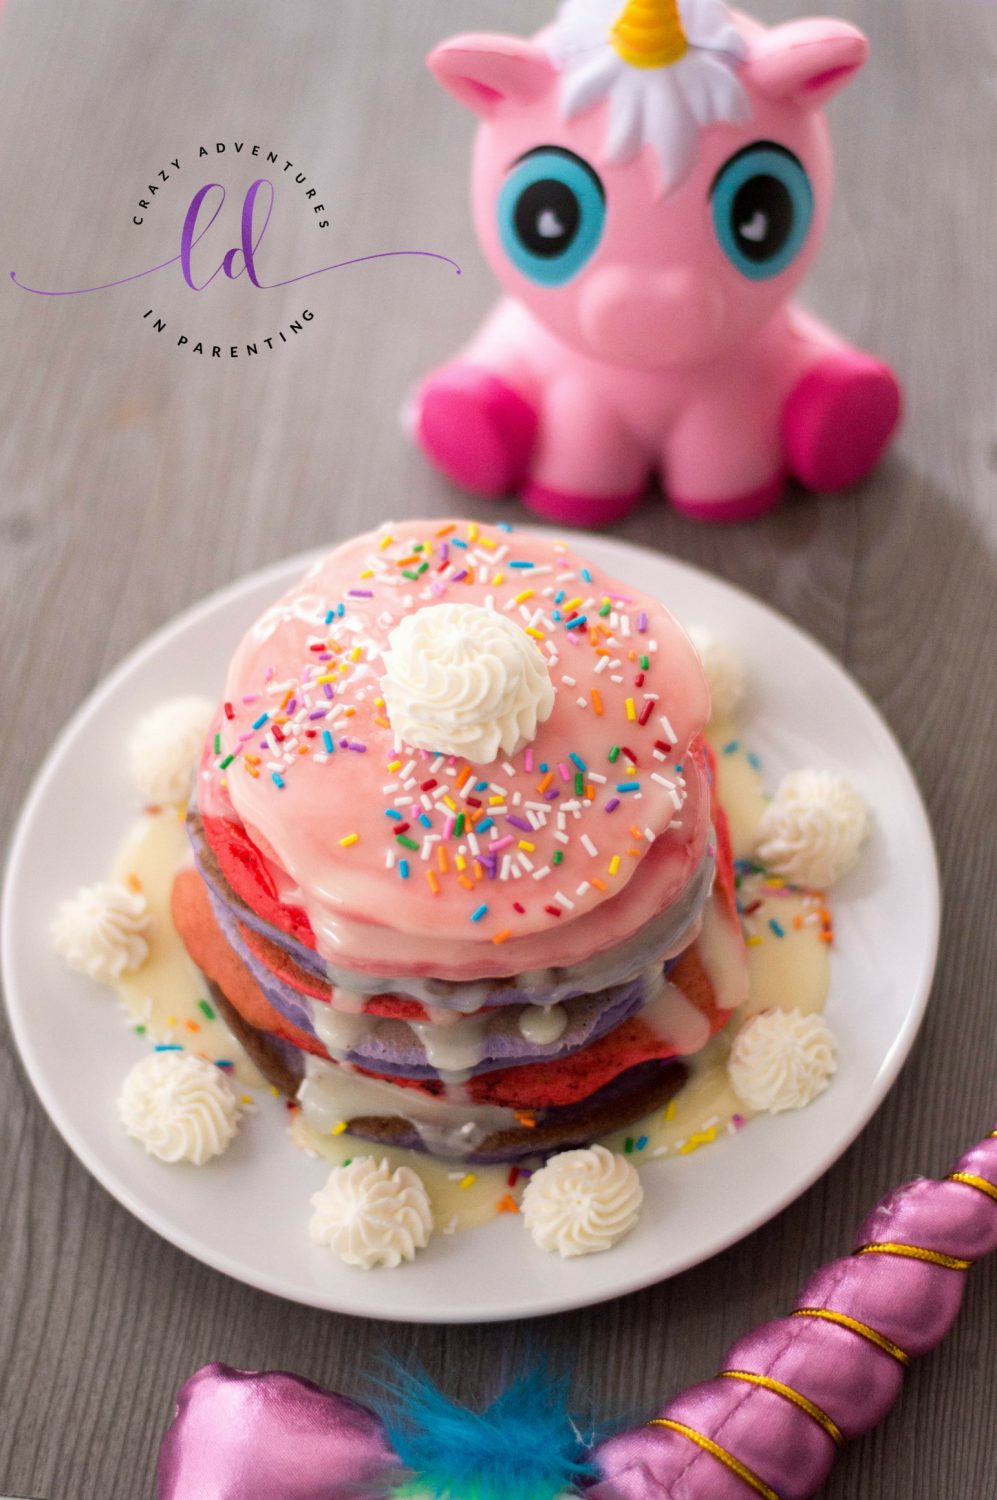
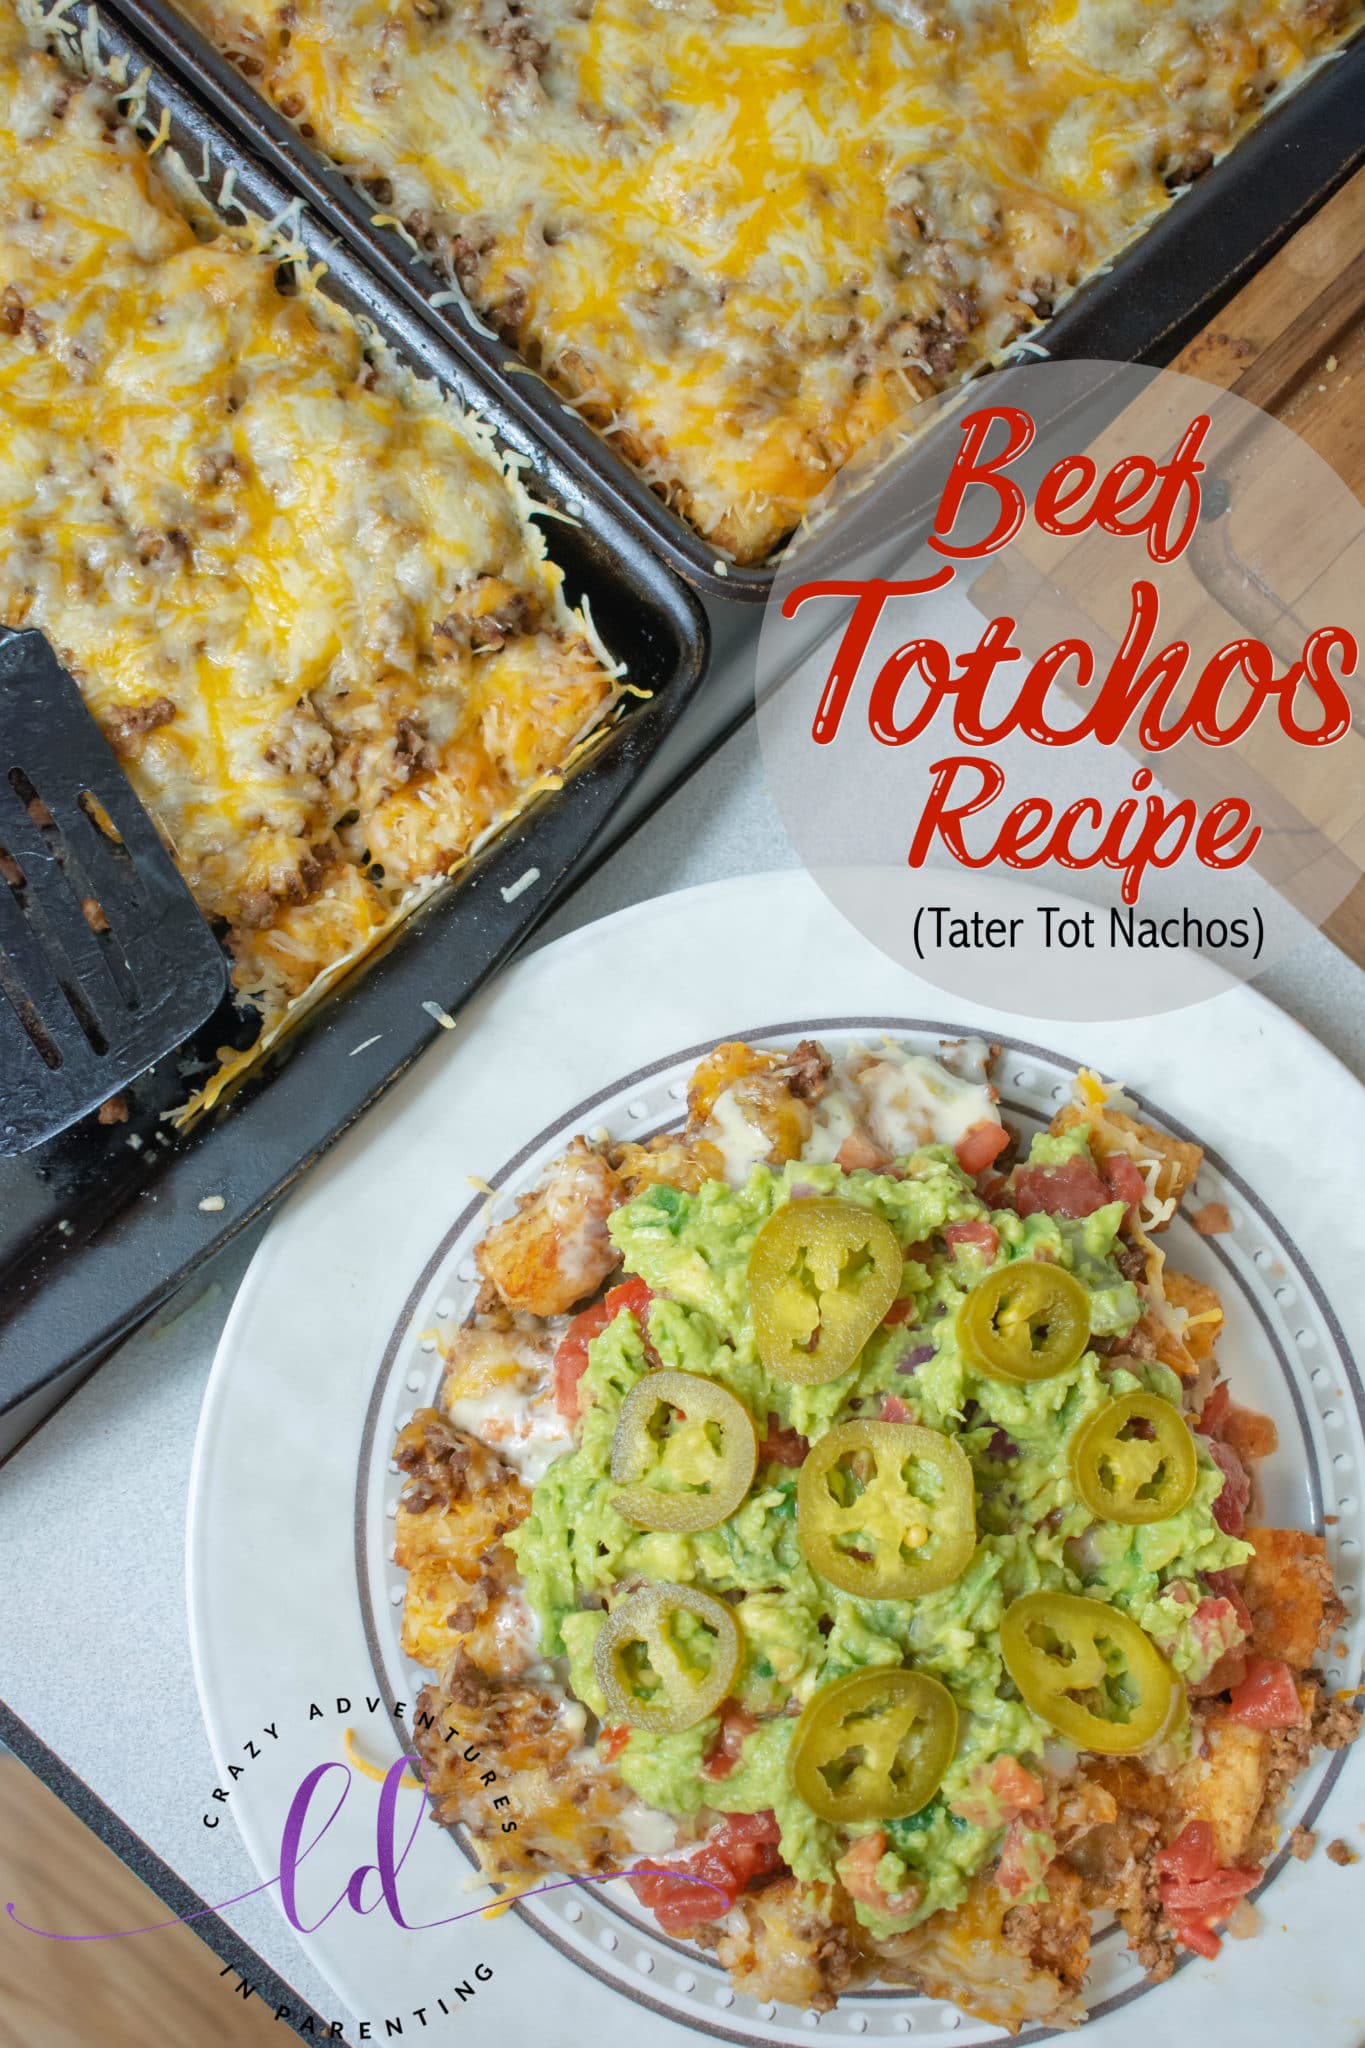
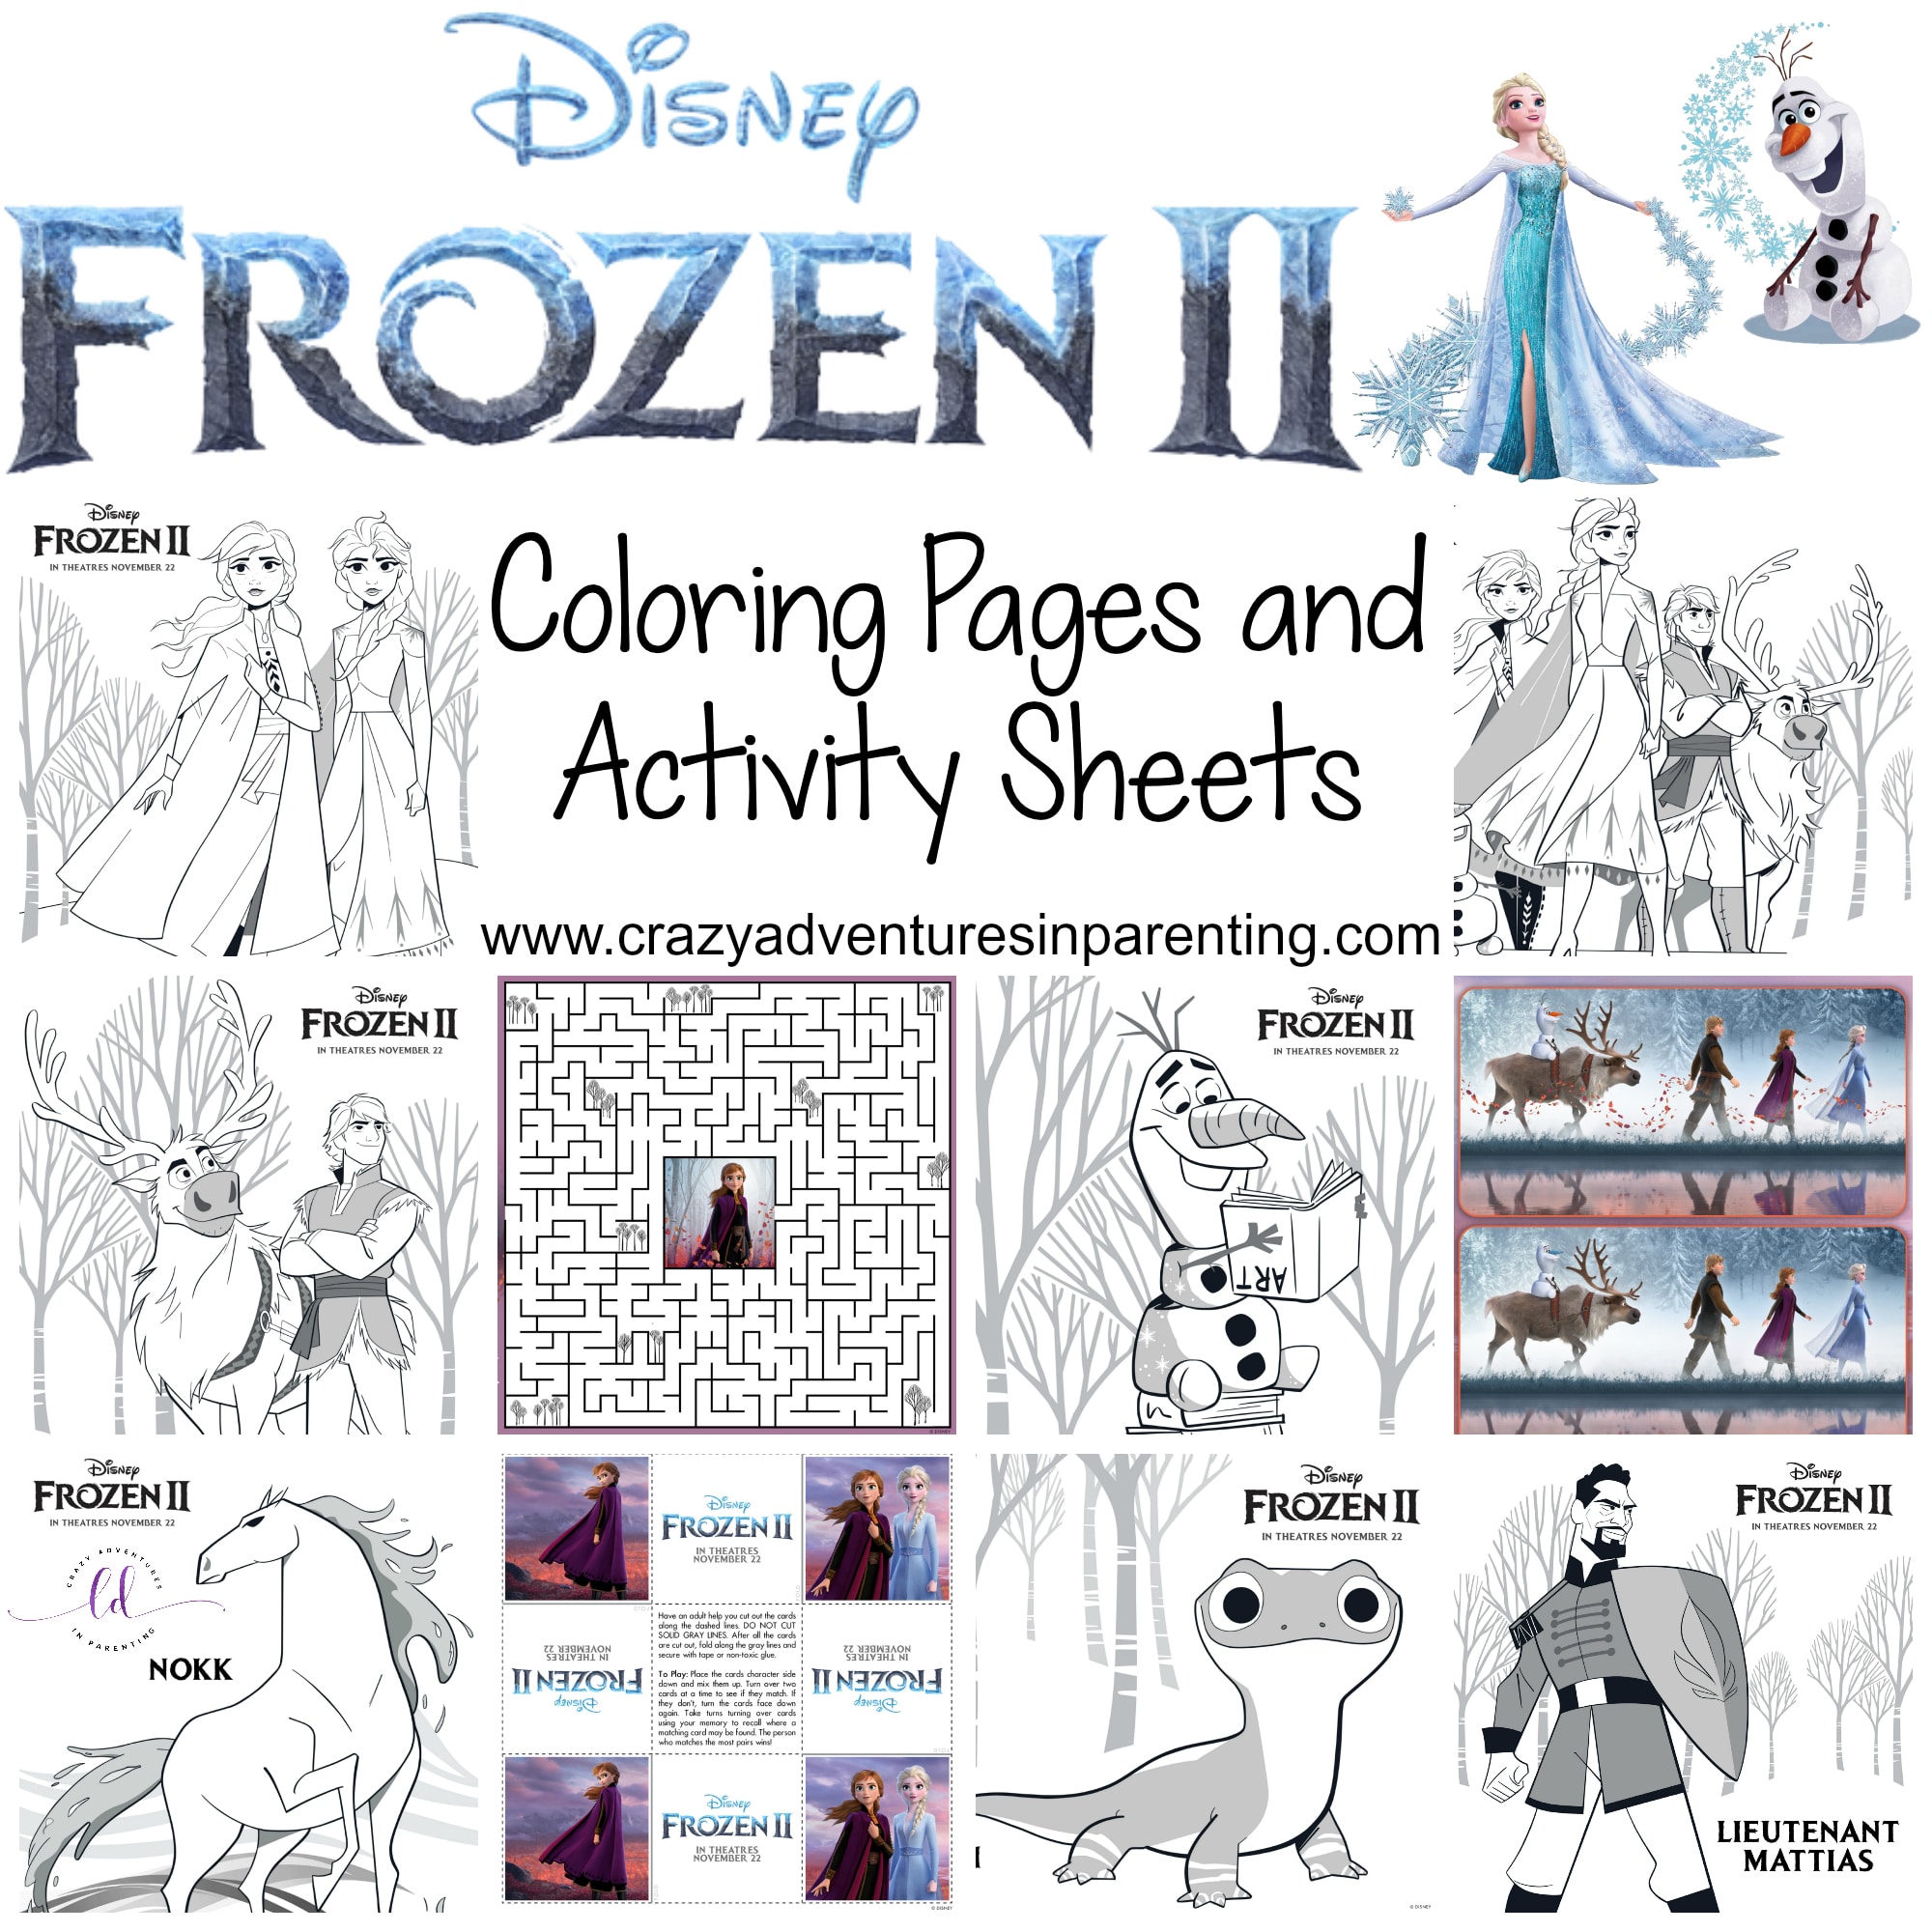
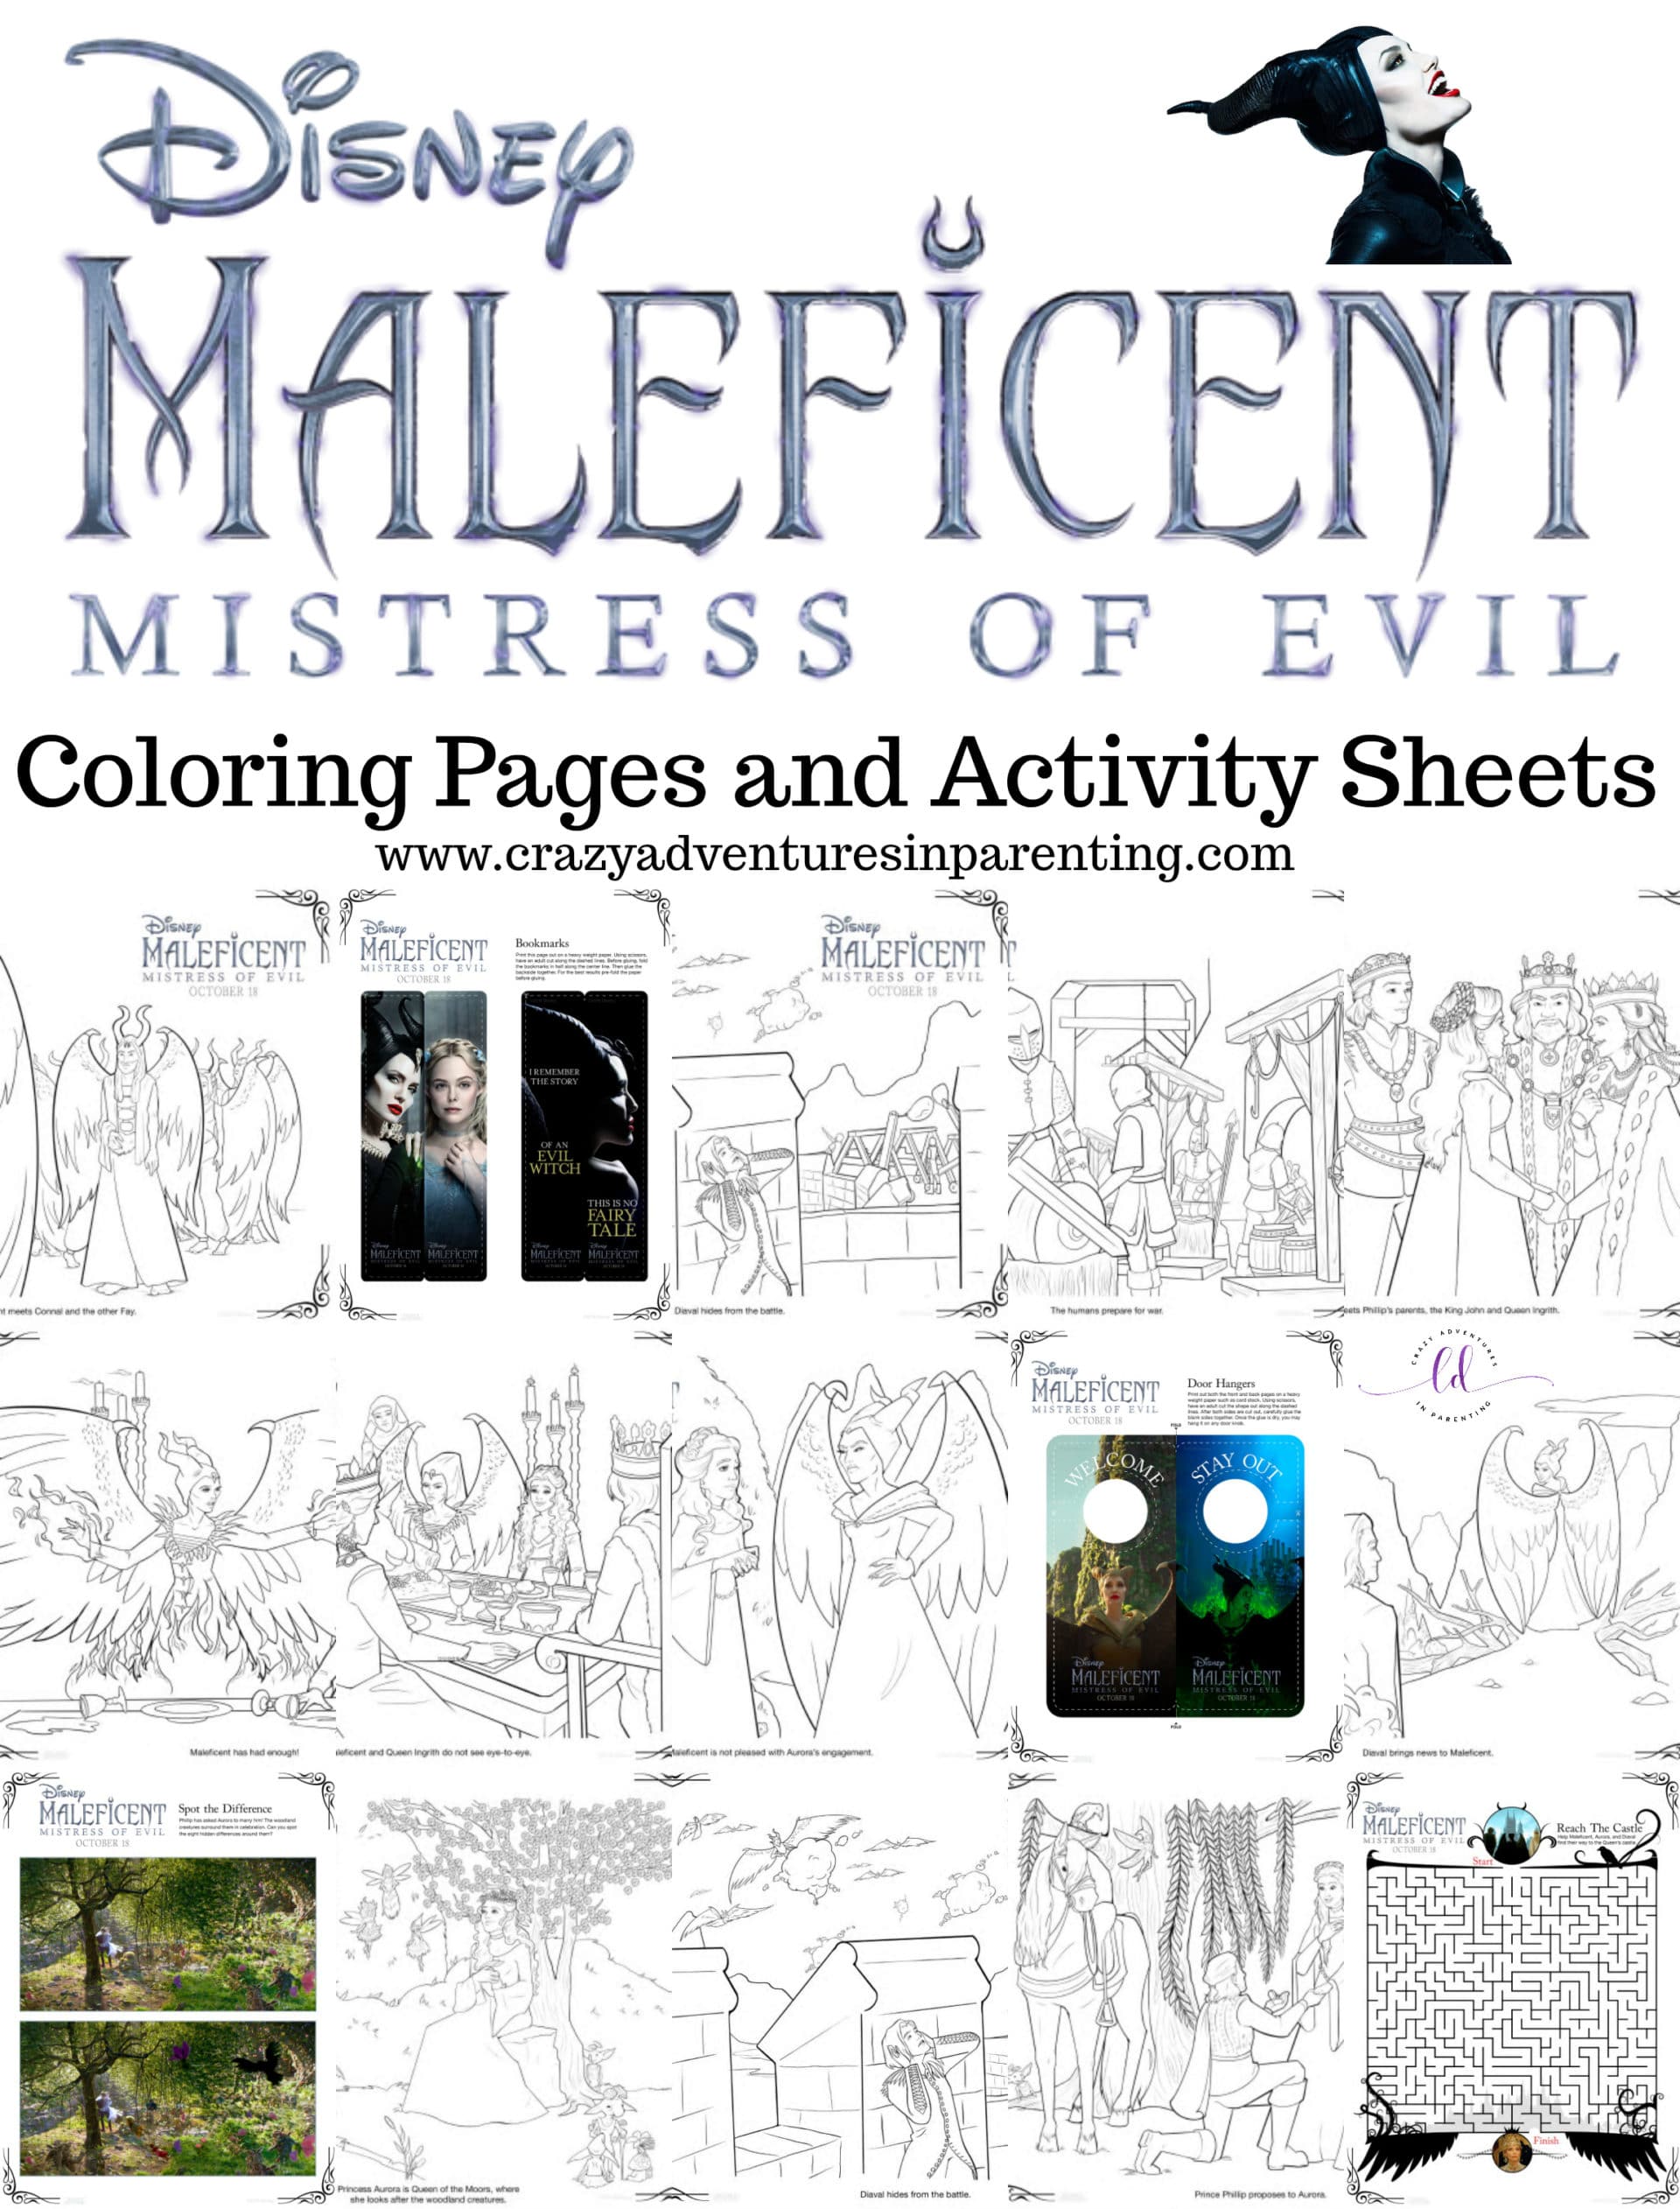
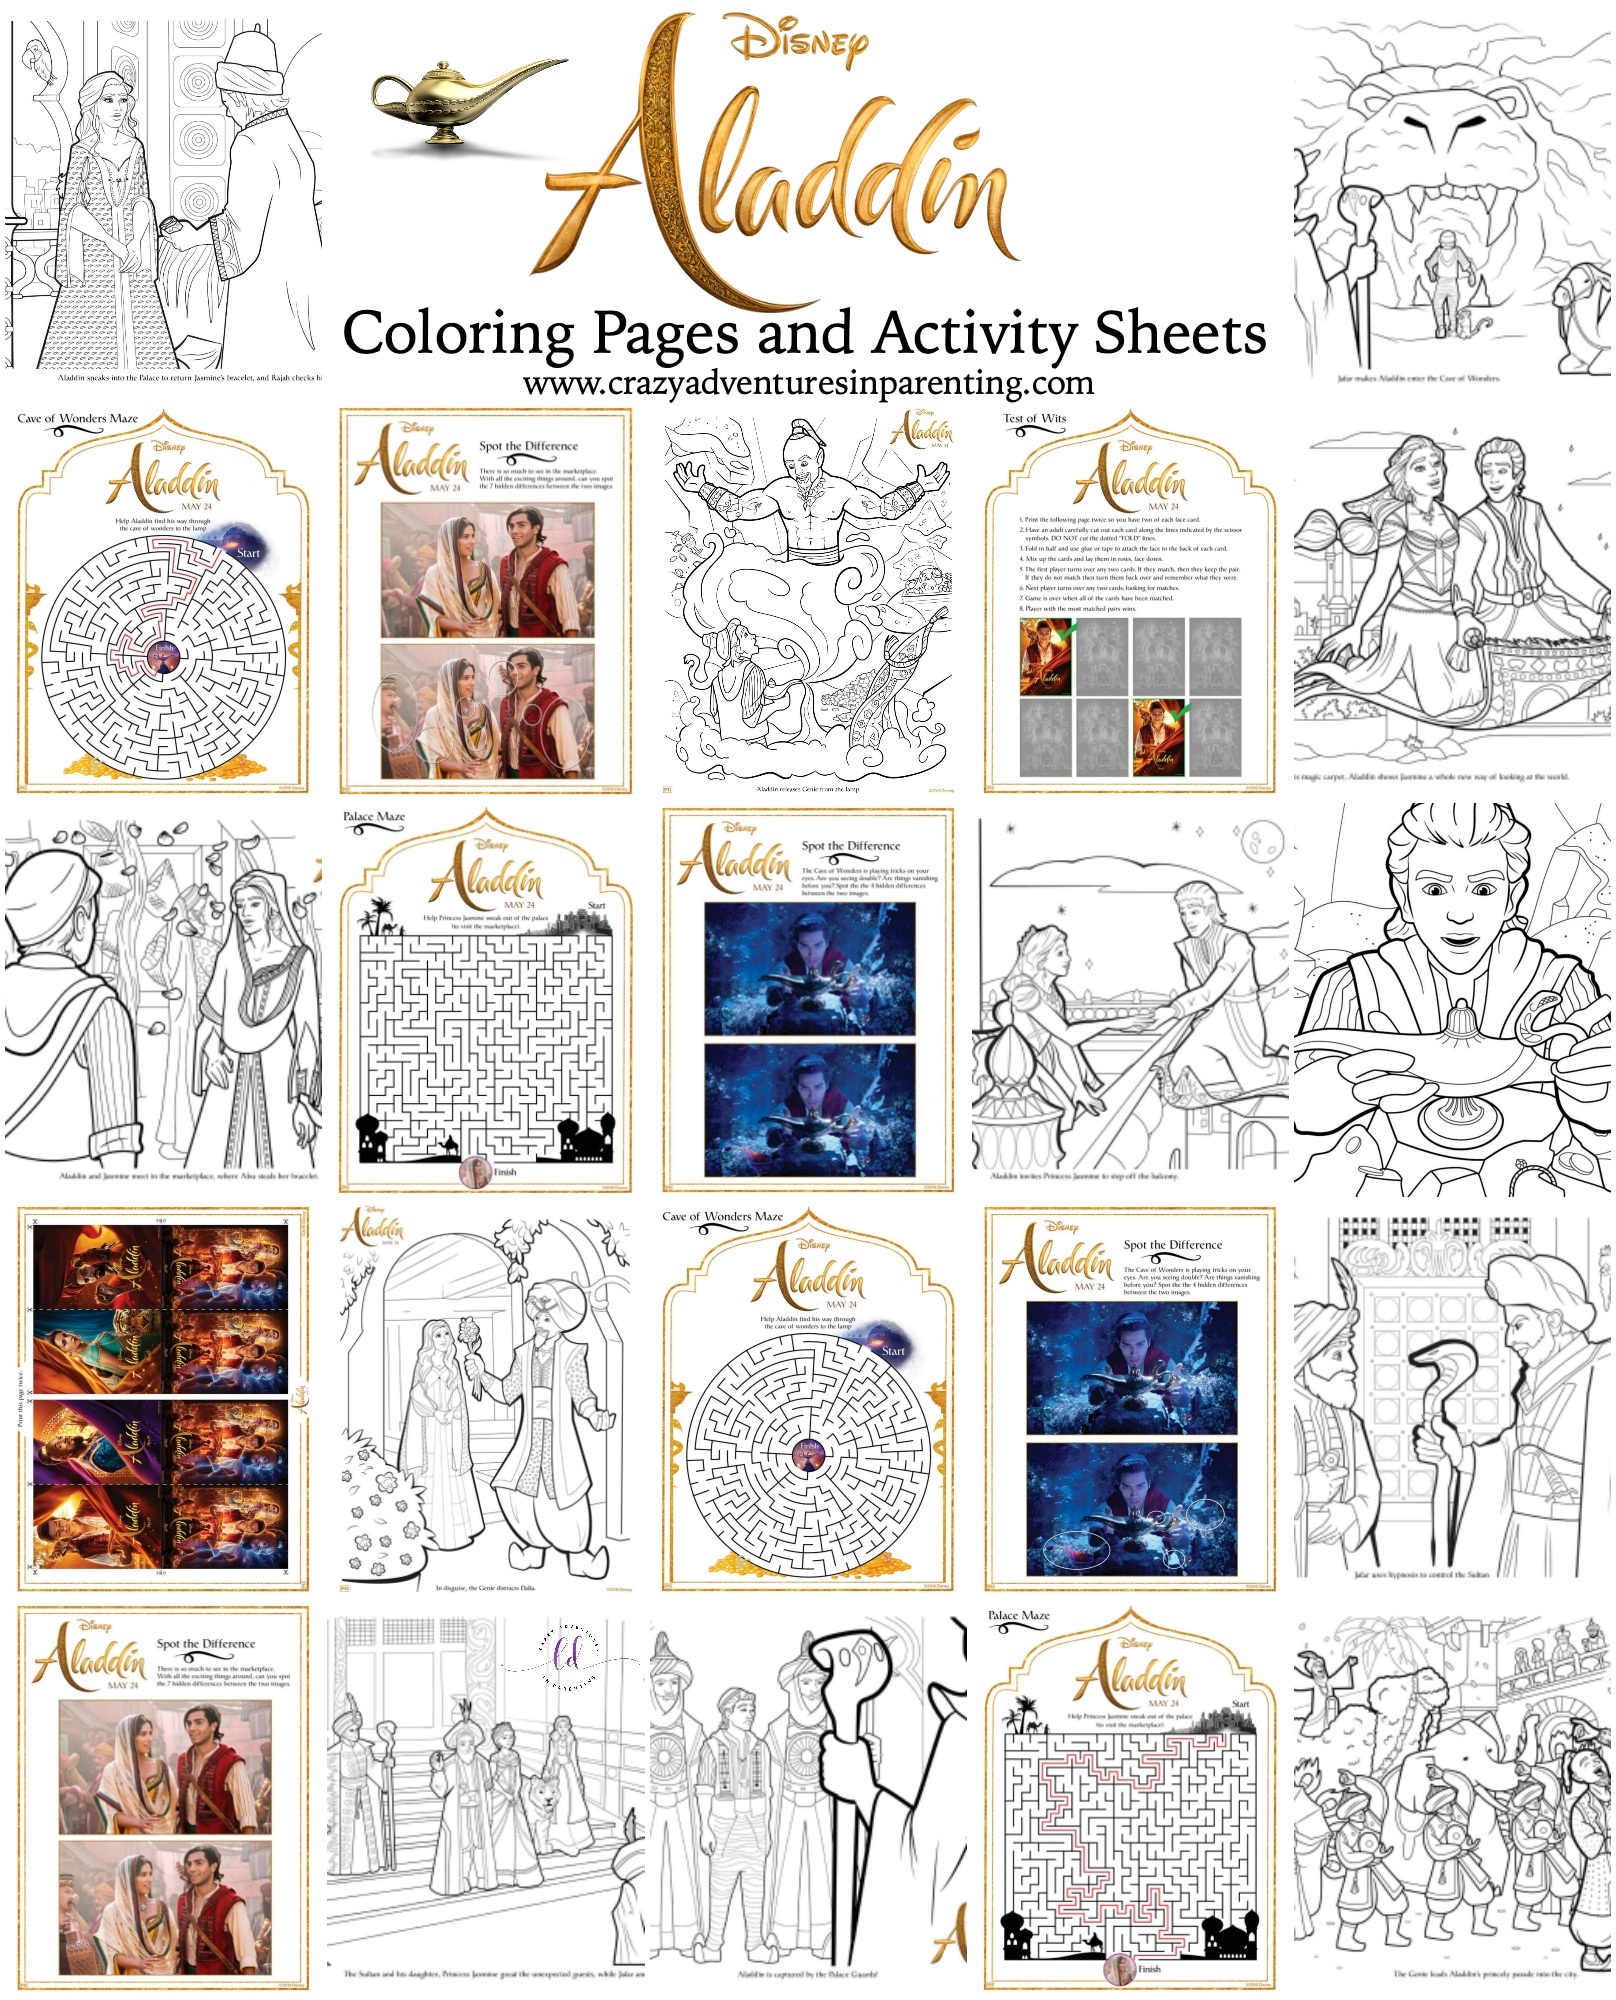
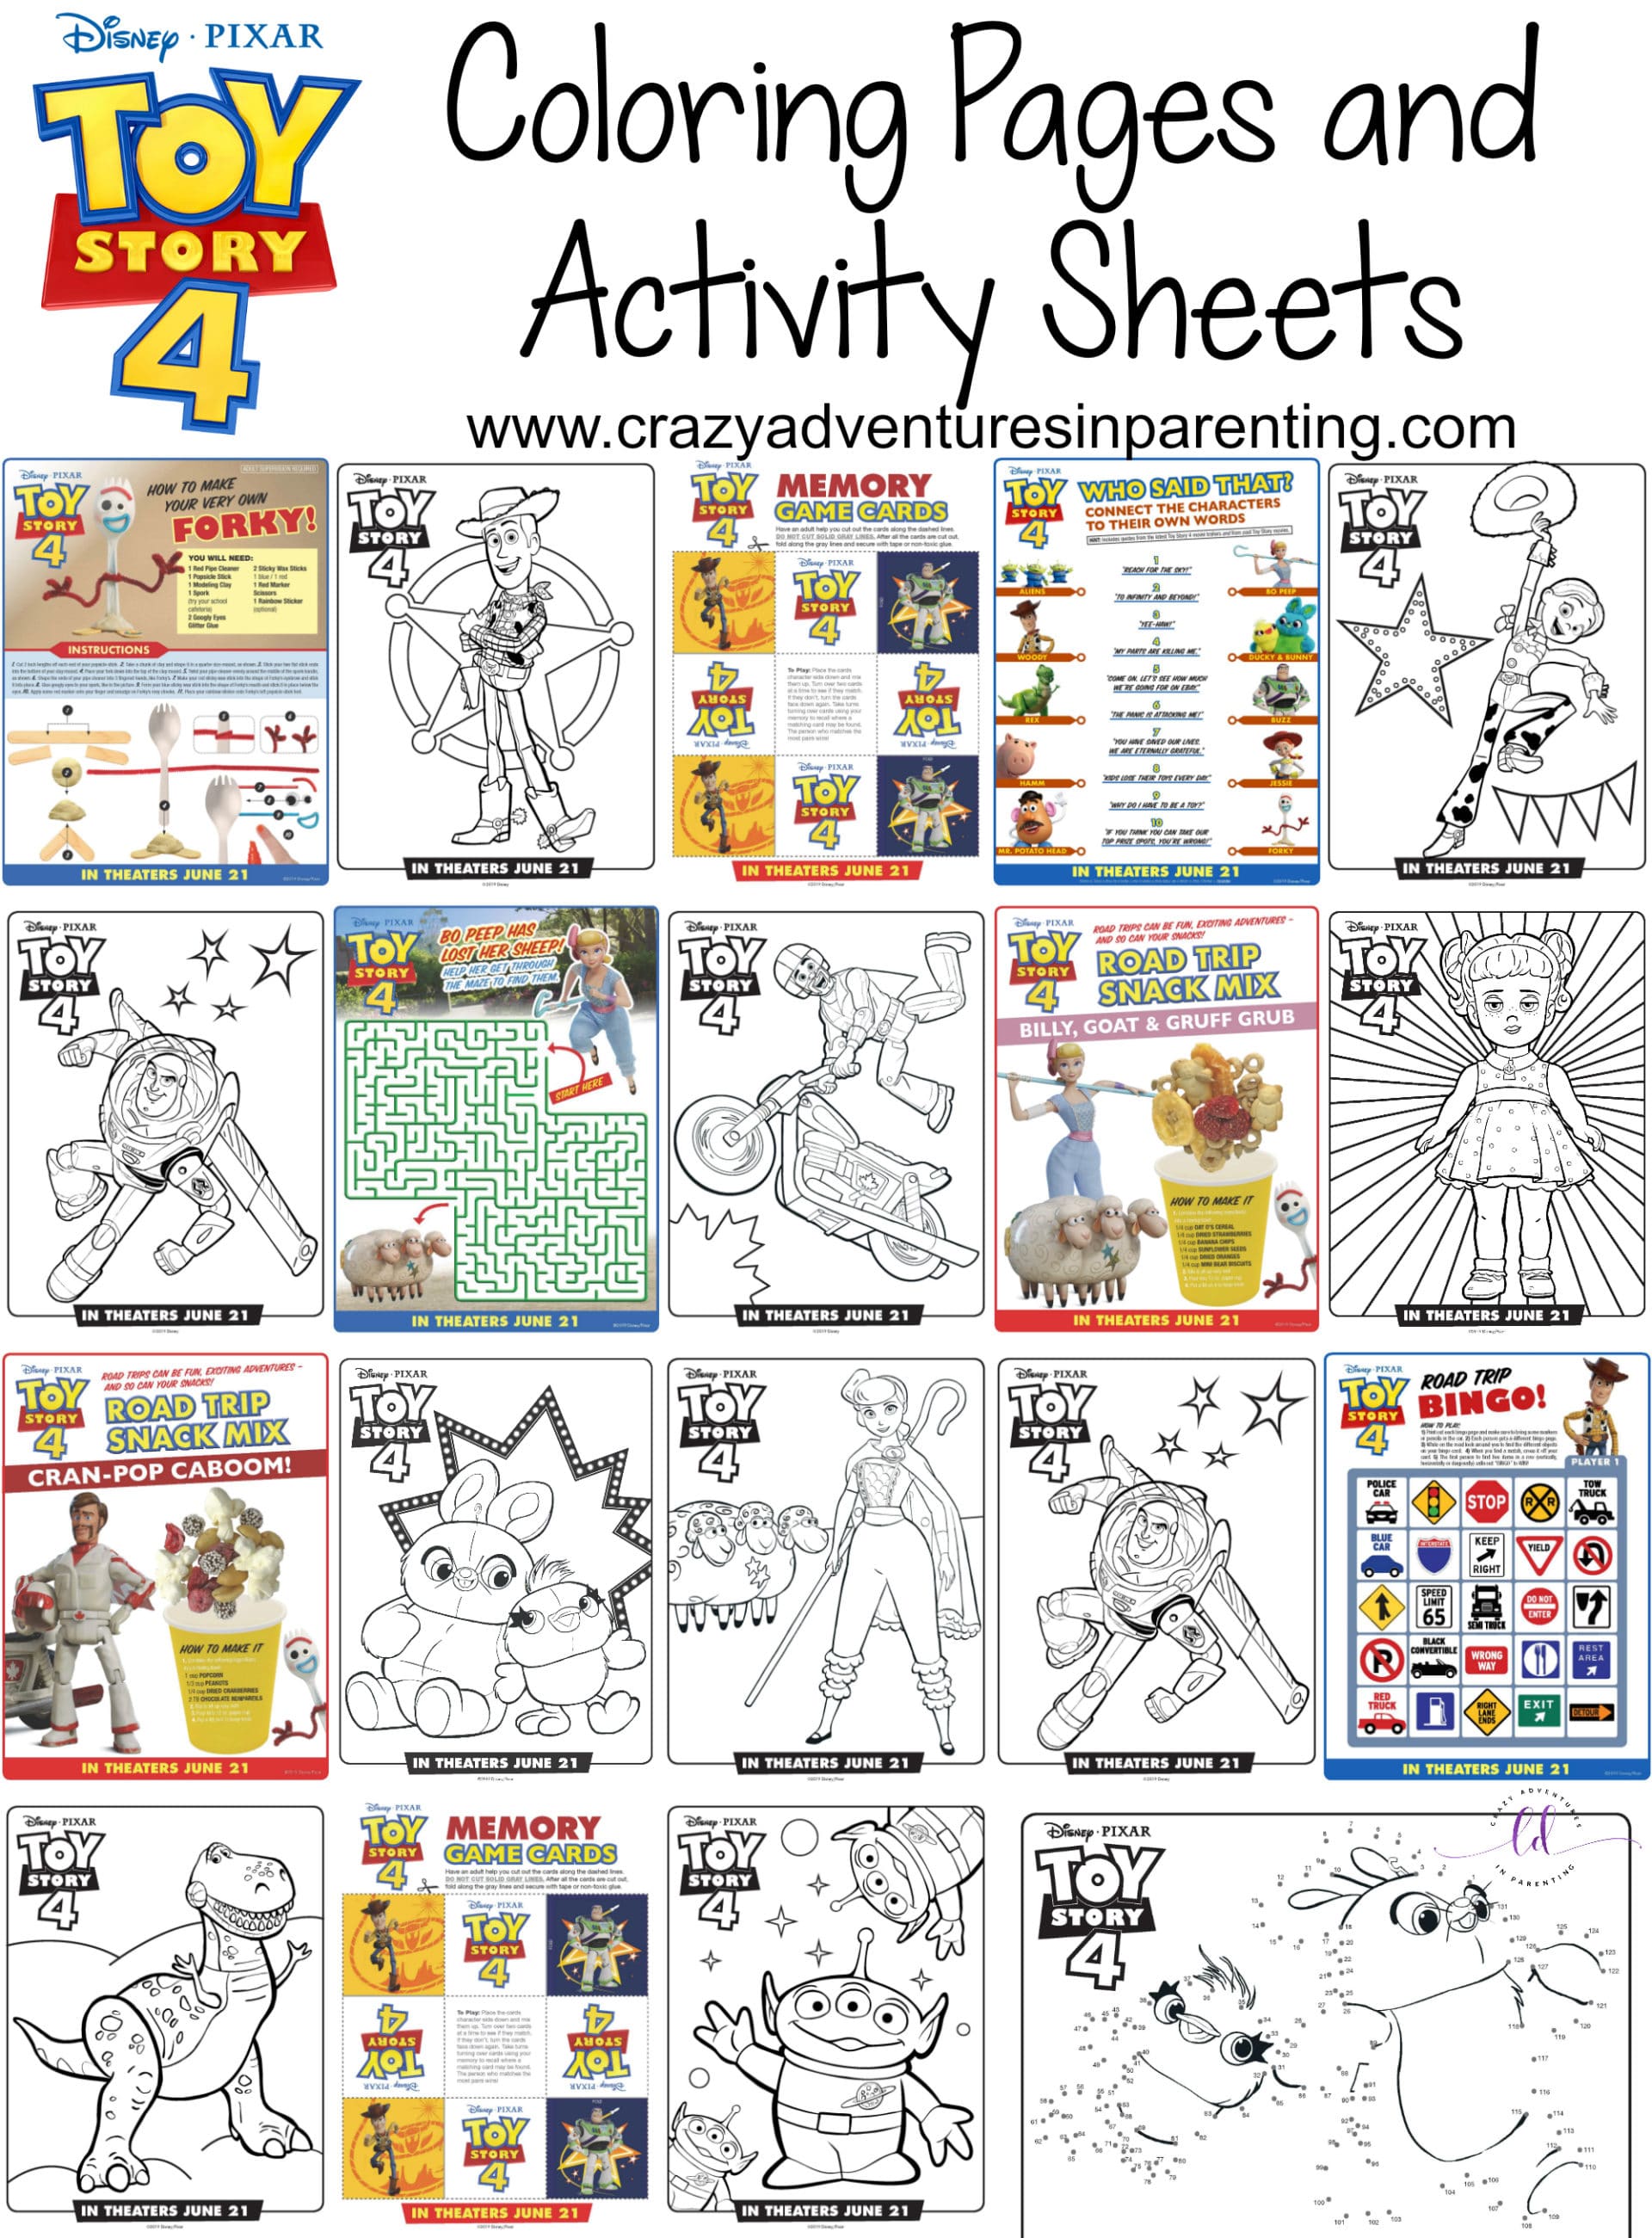
Breakfast Recipes Tasty Desserts Dinner Kid Faves School Lunches Facebook Twitter Instagram Pinterest YouTube RSS Feed Mail Want a FREE cookbook? By subscribing for free, you’ll receive our emails with new recipes, crafts, and more! As a thank you, I will give you a free copy of my e-Cookbook! Breakfast DEssert dinner School lunches kid faves Beverages Easter Mini Cakes Recipe Bunny Butt Cupcakes Recipe for Easter S’mores Mini Cheesecakes Recipe Rainbow Unicorn Cookies Recipe Create Your Own Stuffed Animals with Loopies DIY Macramé Rainbow Charm Craft Fun with Wilton Cookie Creations Activity Kits Cereal Rainbow Craft Instant Pot Queso Macaroni and Cheese Recipe Easy Instant Pot Tortellini Soup Buffalo Chicken Bacon Ranch Quesadillas Beef Totchos – Tater Tot Nachos Free Printable Frozen 2 Coloring Pages and Activity Sheets Maleficent 2 Coloring Pages and Activity Sheets Aladdin Coloring Pages and Activity Sheets Free Printable Toy Story 4 Coloring Pages and Activity Sheets